Friday, March 18

Paperbabe Stamps Challenge #29 ~ Picture Inspiration

Wow what a hard week, March was my mum's birthday, mother's day and seeing as she was Irish, St Patricks too, definitely miss celebrating with her, new memories just don't compare...

We have a lovely springtime challenge over on the
Paperbabe Stamps blog today...
and I've created a fun little card featuring an easter Birthday bunny.
I had so much fun creating my little Adorimal bunny with cute Kawaii face.
I used two colours on the solid stamp parts to give a darker edge to the image. I wanted to keep it soft to keep with the colours in the picture so used a brown ink for all the outlines.
I am loving the speckled egg, I coloured it with distress inks before stamping with the Spritz and speckles stamp set. 
The birthday Sentiment and Houndstooth were heat embossed in platinum yum. I've added a little extra detail with the dots from the Birthday wishes set.

I'm also entering this card to a few other challenges...

Simon Says Stamp ~ Cute & cuddly
Ribbon girls ~ Spring/Easter
Allsorts Challenge #352 ~ Spring is in the air
Craft Rocket Challenge #9 ~ Anything Goes
Deep Ocean#124 ~ Easter
Inky Chicks#64 ~ Happy Easter
Crafty Sentiments ~ anything goes
Crafty boots ~ Easter


Products used: Click picture to take you to their listing...

Thank you so much for stopping by,
enjoy a wonderfully creative day!
Big HuGs Kim x


Friday, March 4

Paperbabe Stamps Challenge #28 ~ Mother!

We have a lovely challenge over on the Paperbabe Stamps blog today...
and I've created a special card featuring a little angel.

The theme this challenge is all about mother's, now my mumchi isn't with us on earth but a new angel and that is where my thinking went with this card...
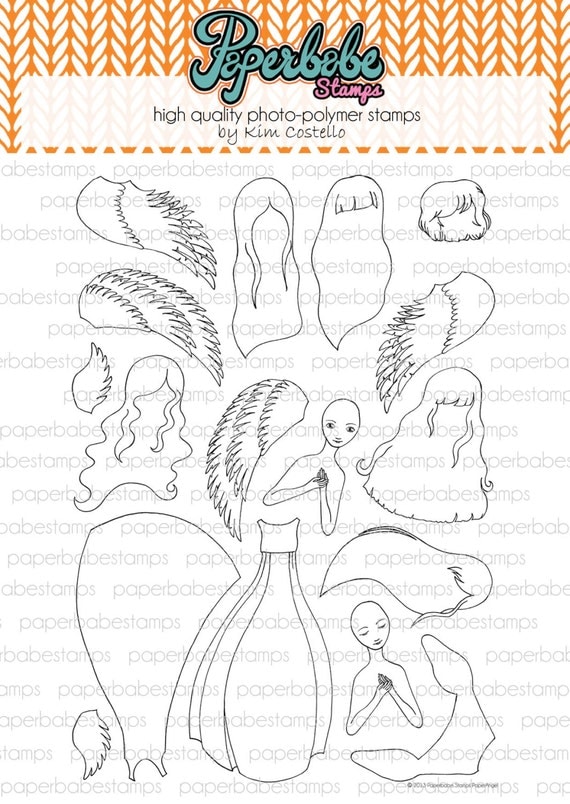
I brought out my lovely Paperangel set, I've stamped the head and arms first, then I masked them before stamping the dress and heat embossing with white. The previous ink must have been still wet as the powder ended up all over her head and arms. The embossed edges made watercolouring her much easier and made the whole look very soft and angelic.

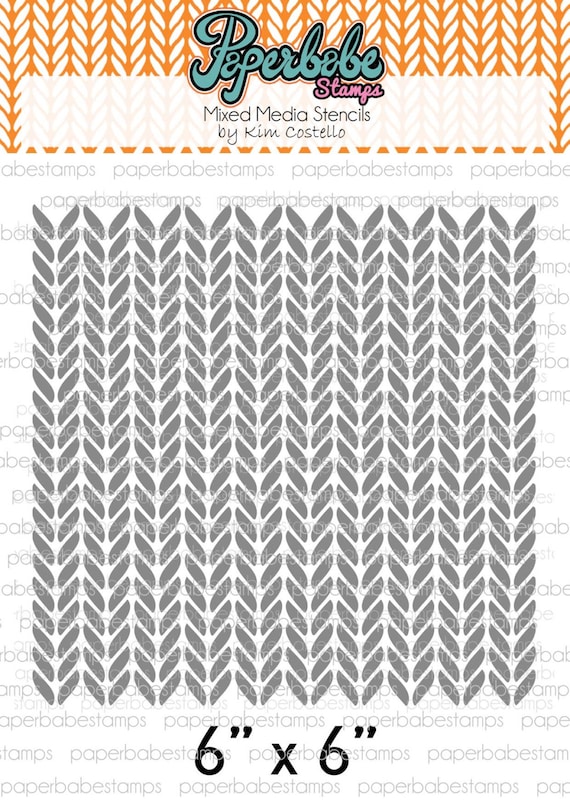
The wings I have stamped and heat embossed onto vellum, then fussy cut out and adhered them behind her. I am so pleased with the background texture, I decided to try Heavy gel medium through my knit stencil and sprinkled on dry glitter after I've lifted the stencil off. The gel medium is stiff and still gives great depth and as it's a medium things like glitter stick to it really well.
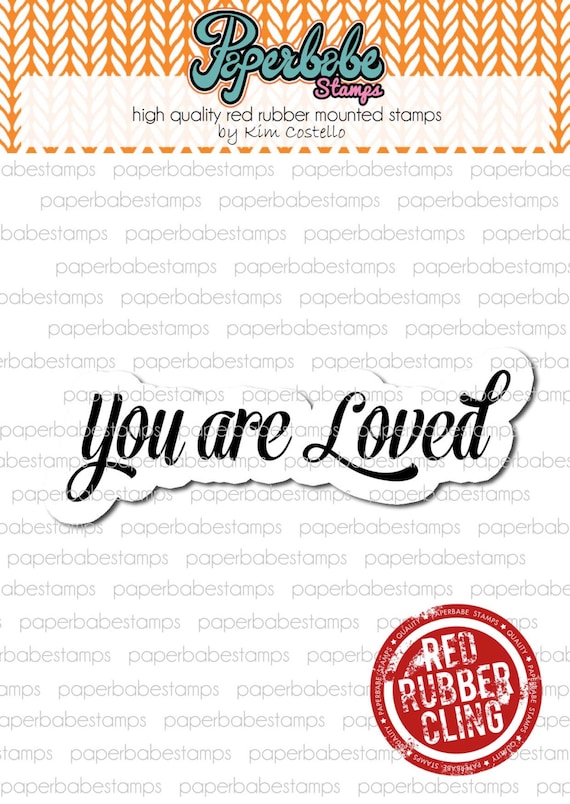
I chose to stamp the sentiment onto vellum as well using metallic platinum powder

I spent an amazing weekend in Ireland visiting my amazing nan who's ninetieth birthday we were celebrating...
But I've come back with an awful cold/sore throat so March's Mixed Media Work will be a bit later than I hoped.

I'm also entering this card to a few other challenges...

Simon Says Stamp ~ touchy feely(texture)
Sweet Stampin' Challenge ~ Special Lady
Ribbon girls ~ Any Image
Cute Card Thursday ~ Mother's Day
Bunny Zoe's ~ Things with wings
Allsorts Challenge #352 ~ Sentiment in Focus
Craft Rocket Challenge #9 ~ Mother's Day/Female


Paperangel - Paperbabe Stamps - Clear Photopolymer Stamps - For paper crafting and scrapbooking.Mixed Media Stencils Knit ~ Paperbabe Stamps - Laser Cut Mylar Stencils - For Mixed Media, Paper crafting and scrapbooking.You Quote 'Y0u Are Loved' - Paperbabe Stamps - Red Rubber Cling Mounted Stamp - Typography for Mixed Media, Art journal and Paper crafts

Thank you so much for stopping by,
enjoy a wonderfully creative day!
Big HuGs Kim x


Friday, February 19

Paperbabe Stamps Challenge #27 ~ Anything Goes

We have a super easy challenge over on the Paperbabe Stamps blog today...
and I've created a mixed media piece following 
Life Book week three... your sacred box of wisdom class 
by the lovely Melody Ross!

I used some lovely napkin tissue for the box itself, I was going for an old ornate look so inked the edges.

The Word 'Wisdom' was die cut using some adhesive wood veneer(yum).
I have used themini head and torso mixed media templates along with the mini mermaid hairstyle and painted her hair in a soft pink. The lush closed eyes and facial features were stamped using the mini female face and the girl's hands were drawn from the mini poseable hand template.

The background came to life with a subtle stamping of pixels from the pixel fun set, love that it can be used in a different way. She is also sporting a pair of fairy wings drawn at a slightly different angle.

I thought I would enter this into a few other challenges...

Kim Dellow ~ Show your Face
Paint party friday ~ Week 50
Crafting from the heart ~ Anything Goes
simon says stamp ~ Recycled some tissue paper and scrap card
whimsy inspires ~ Anything Goes
lil patch of crafty friends ~ Anything goes
inspiration destination ~ Anything goes

Thank you so much for stopping by enjoy a wonderfully creative day!
HuGs Kim x


Wednesday, February 17

Letting Go ~ Life Book 2016

Thought I would take a moment to share one of my Life Book mixed media pieces... This was week two's bonus lesson...
The inspirational prompt was letting go, I really got into my zen tangle doodling, I feel my scanned image isn't as vibrant as the photo's which show up the lovely iridescence in the paint.
This piece reminds me of a wonderful quote...
"We delight in the beauty of the butterfly, but rarely admit the changes it has gone through to achieve that beauty" Maya Angelou

There will of course be a new Challenge up on the Paperbabe Stamps Blog this Friday, so pop back then, I have another mixed media piece ready and waiting!!!

Thanks for stopping by
Enjoy a wonderfully creative day!

Hugs Kim x


Thursday, February 11

Paperbabe Stamps ~ Beanie Hats and Glasses

Morning! today we are showcasing the new mixed media templates and stencils over on the Paperbabe Stamps blog today...

Here is my sample,
I didn't get time to create as much as I wanted, but decided to use all todays release in another comic pop art style card as it's my new favourite.
This is a large A5 card, I have drawn in order the hat, the first hair piece, the head, fringe of her hair then the neck and shoulders all in pencil first, as I needed to move the glasses down her face, it was so easy to replace the templates to fix any rubbed out lines.
I then stamped most of the facial features before colouring in copic markers. I must mention that it's probably best to draw the hat first before the other steps of the templates as you will need to adjust some of the hairstyles to fit in under the hat band. I will try and get a video created as soon as I can to show you.
I have used distress inks over my copic colouring to get the texture and dots. I used the negative part of the pre cut hat template as a mask when inking through the knit stencil. As I did with the hair when stamping on the face.
Then I cut the whole figure out and ran my black copic over the edges to hide the white and enhance the comic look. I've added a few pop dots to the edge of my background in black embossing.
I used the glasses as a mask when I stamped her eyelashes to really give them perspective.

Wednesday, February 10

Paperbabe Stamps ~ Pop Dots and Polkas

Morning! I have a few cards showcasing the new Pop Dots stamp set and polka dot stencils being introduced on the Paperbabe Stamps blog today...


This is using the medium 1cm dot stencil with white paint onto kraft card, when dry I stamped little hearts from the doll face stamp set and heat set in gold embossing powder.
I have then stamped my sentiment in blue embossing powder onto vellum die cut and added a circle of white card to help the sentiment to pop! Finished with a flourish of glitter paper.

For my next card
I wanted to create a fashion style print, using the larger female head and torso mixed media templates with the flick and fringe hairstyle, I drew the girl first onto watercolour paper, stamped her facial features and roughly added a wash of distress inks to look like watercolours.
I masked her eyes to then use the same distress inks to stamp the polka dots varying the colours on different areas of the card.
 I stamped her eyelashes last and went over my pencil lines very roughly with a gel pen.

Now this card...
has to be my absolute favourite this year, it makes me smile!!! 
It was created using the mini head and torso with loose plait mixed media templates, with mini female face stamp set. Like in the above card I simply drew my girl first in pencil, stamped her face and coloured in using copics. 
Now this type of copic colouring I actually find difficult, it's not easy for me to get a smooth comic colour, but thankfully the dots so helped there, they were stamped using distress inks, it worked so well. 

I masked the different areas before stamping the polks dots. Then I went around all the pencil lines with my black posca pen, you can very easily reposition the templates and use them again. Then I fussy cut her out, the background shows off the halftone stamping in white embossing powder. Finished off with a little sentiment created using Birthday wishes shown yesterday.

Thanks for stopping by, hope you feel inspired to try something different on your cards!
HuGs Kim x

Tuesday, February 9

Paperbabe Stamps ~ Introducing Birthday Wishes

 Hi I have a few cards showcasing the new Birthday Wishes stamp set being introduced on the Paperbabe Stamps blog today...

With it being Chinese new year yesterday I thought it would be fun to create a special celebration card, complete with Adorimal monkey as it's year of the monkey. I have stamped this little character onto leather effect adhesive paper and fussy cut all the components before adhering in place. The sentiment has been heat embossed in gold powder.

next
I am so pleased with how the herringbone background came out, I used the DesignA Tweed stamp with distress ink to give it a more muted tone, you could definitely use this in different colour ways to suit female recipients. The sentiment has been built up and stamped in black ink, with a few decorative dots & confetti.

I have a few more to show...
I was inspired by this card, I simply swapped the colours, but the embossing didn't come out as clear in this colour.
I've used the cluster of dots to create a background of confetti, the sentiments have also been heat embossed.
And finally these cutie 4" mini cards, with a row of pretty candles all lit up, this would be great in any colour! and so quick to reproduce, I simply lined up five candles snugly beside each other on a block and repeat stamped them on the edge. Finished with little flames and a sentiment.

Sorry my pictures are so dull looking, just pretty overcast weather conditions here.
Enjoy your pancakes if you're having any,
HuGs Kim x

All Craft Sites

Since 21.08 You're Number...

Top 40 Arts and Crafts Websites