Friday, April 22

Flourish and Grow ~ One Layer Card

Thanks for visiting...

I hope you enjoyed a lovely Easter ♥ ours was shadowed by covid, but we're all clear now Yay! and I got the chance to get into my craft area for the new anything goes challenge on the blog today...
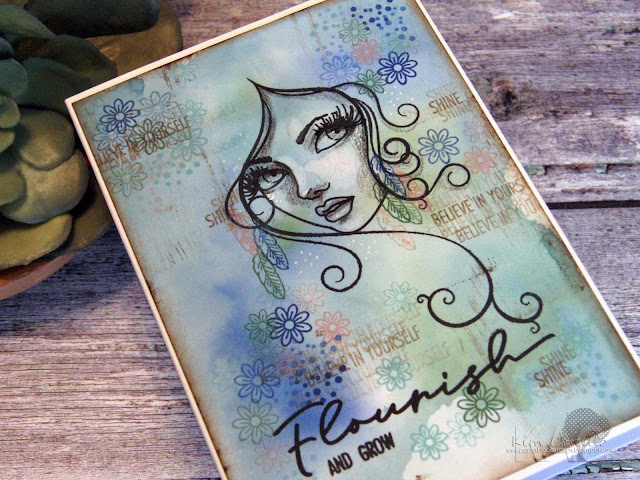
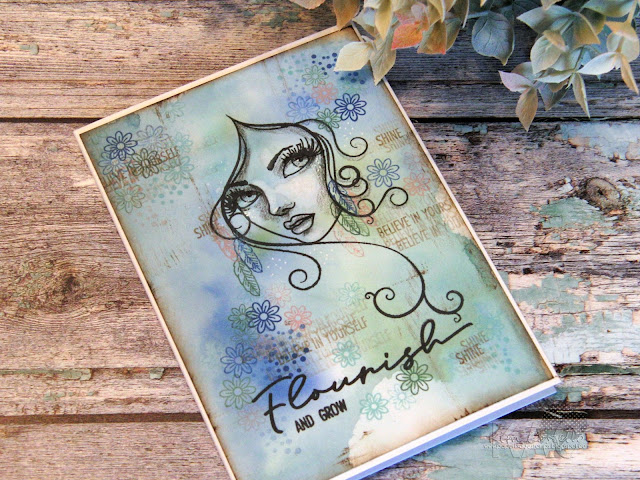
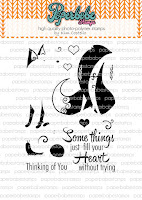
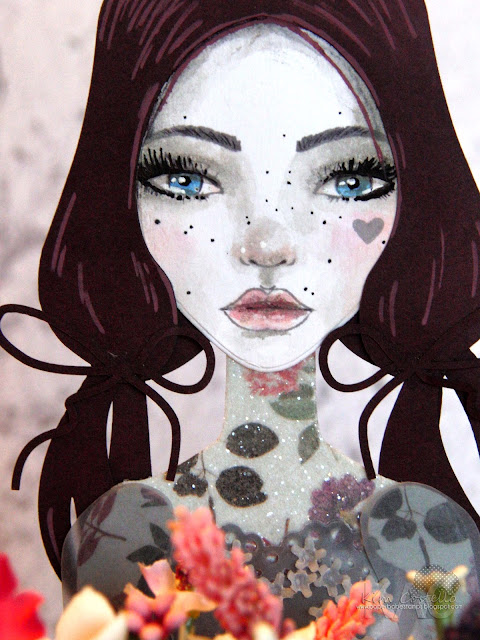
I created a one layer card, I used the Flourishing hair stamp set along with the wonderful 3/4 view left dinky, I added a few extra curls and shaded her facial features with a little black pencil.
I got to use my newest distress inks, salvaged patina, rustic wilderness, prize ribbon with hints of saltwater taffy too.
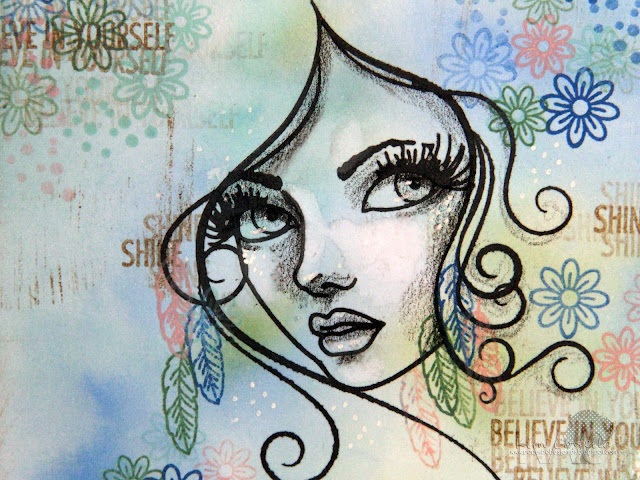
and used the Flourish and Grow and Dinky sugar skulls for extra interest in the background.

---------- ~ • ~ ---------- ~ ♥ ~ ---------- ~ • ~ ----------

click pics for links

---------- ~ • ~ ---------- ~ ♥ ~ ---------- ~ • ~ ----------


Thank you so much for stopping by,
Enjoy a wonderfully creative
weekend ♥ HuGs Kim x

Friday, April 8

Spring Time ~ Paper Art Doll

 Thanks for visiting...

Today is the last day of term, ready to break up for Easter ♥
We have a new anything goes challenge on the blog today and...
 I created a jointed paper art doll, with a simple dress, using all those extra flowers I had left over from my last challenge piece.
I've used the Body base along with the portrait head and stamps, the hands and the cute Serena hairstyle, all joined together with the wonderful paper brad.


---------- ~ • ~ ---------- ~ ♥ ~ ---------- ~ • ~ ----------
click pics for links

---------- ~ • ~ ---------- ~ ♥ ~ ---------- ~ • ~ ----------


Thank you so much for stopping by,
Enjoy a wonderfully creative Easter ♥,
HuGs Kim x

Friday, March 25

Rainbow Springtime Hippie Chic

Thanks for visiting...
Wishing all the mothers a very happy special day ♥
We have a new anything goes challenge on the blog today and...
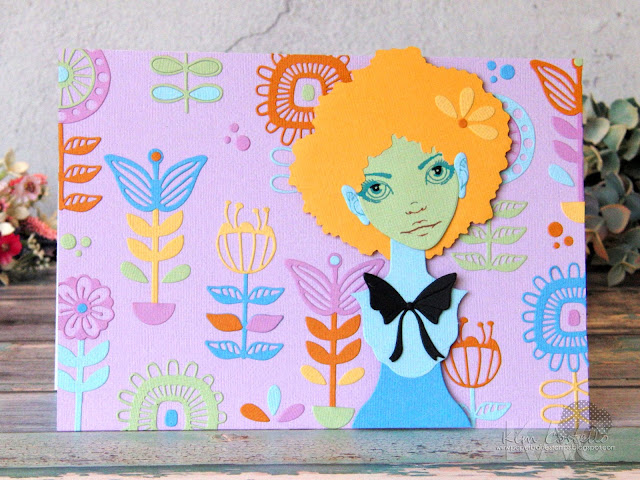
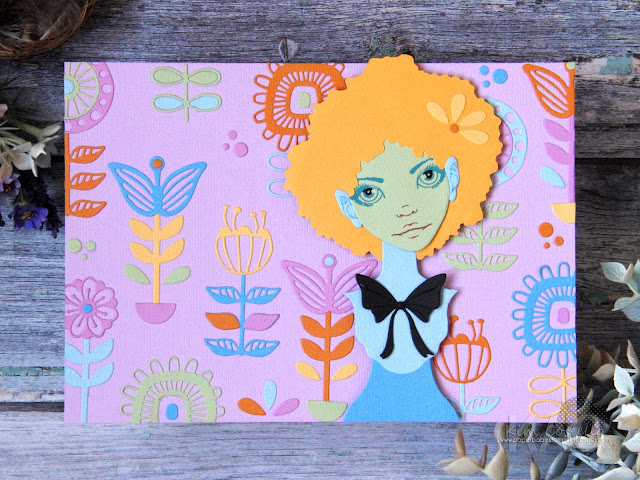
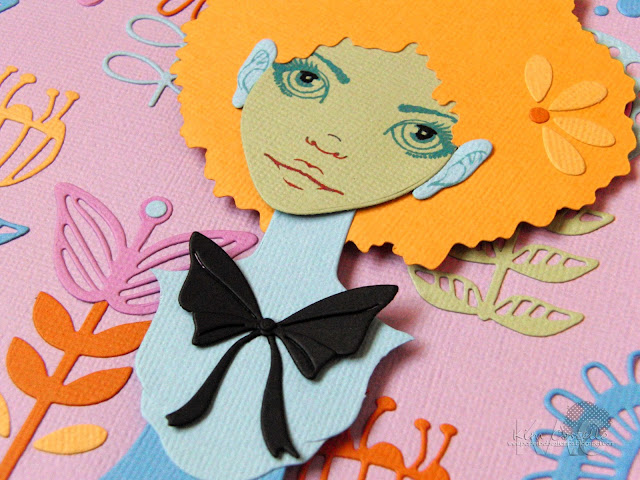
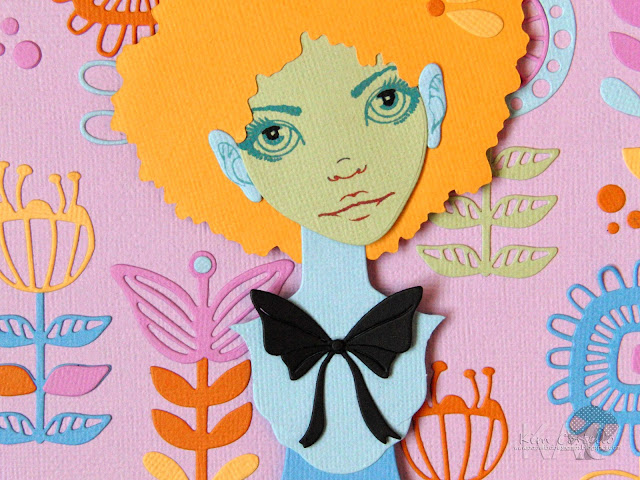
I created this super bright colourful springtime card using the Jointed paper Art doll collection. It's a larger A5 card so I could fit everything on lol.
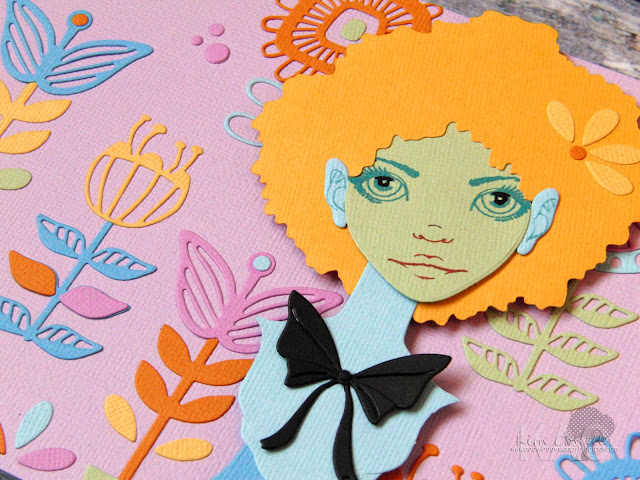
I die cut the body but trimmed away the holes from the torso I was going to add arms but went with this look instead. I die cut the Portrait Head first and stamped her face and ears in a mix of inks, using a stamping platform meant I could keep adding colours.
To complete her look I have used the super fun the Ashryn hairstyle, I thought it would look wonderful and fun.
To make her an interactive part of the card I have used the paper brad fastening so her head can move side to side. I've added foam adhesive to the card behind her head but didn't remove the backing so it would give height but not stick.
The background... well I have had this stackable florals die set from sizzix quite a while it's unfortunately discontinued now but so happy I've got to use it, it's so quirky. I've used six colours, a pastel rainbow of sorts and die cut all the elements in each colour then went to town creating this floral pop background.


---------- ~ • ~ ---------- ~ ♥ ~ ---------- ~ • ~ ----------

click pics for links


---------- ~ • ~ ---------- ~ ♥ ~ ---------- ~ • ~ ----------

Thank you so much for stopping by,
enjoy a wonderfully creative weekend with ♥ mums,
HuGs Kim x

Friday, March 11

You don't have to be Perfect...

Thanks for visiting...
We have a new anything goes challenge on the blog today and...
I created this cute little card featuring the very versatile whimsical woodland set.
The patterned panel was very simple to create stamping the dinky images in the four sets, using a few distress oxides inks. The fox and the bunny were stamped in versafine twilight, which is much more blue than the darker colour in the pictures.
I fussy cut them out and raised them with dimensional adhesive.

---------- ~ • ~ ---------- ~ ♥ ~ ---------- ~ • ~ ----------
click pictures for links

---------- ~ • ~ ---------- ~ ♥ ~ ---------- ~ • ~ ----------

Thank you so much for stopping by,
enjoy a wonderfully creative weekend,
HuGs Kim x

Friday, February 25

Spring Garden Jointed Paper Art Doll

 Thanks for visiting... 

We have a new anything goes challenge on the blog today and...

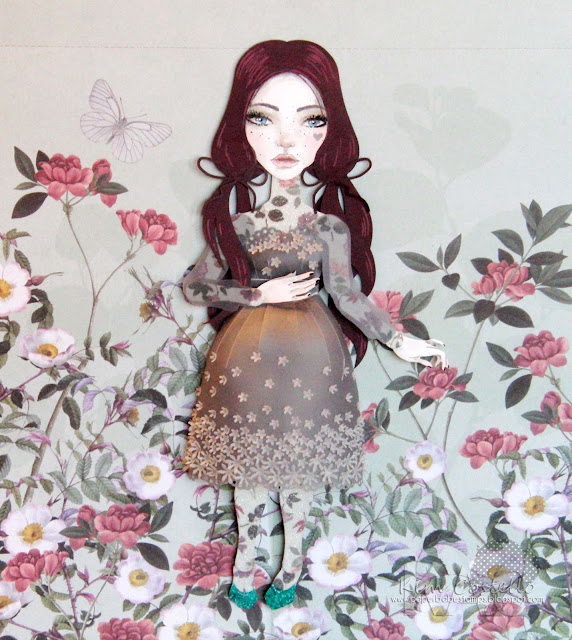
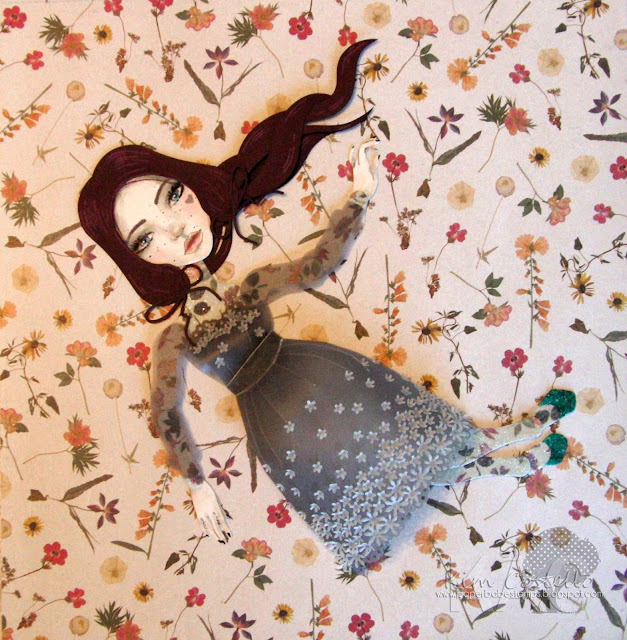
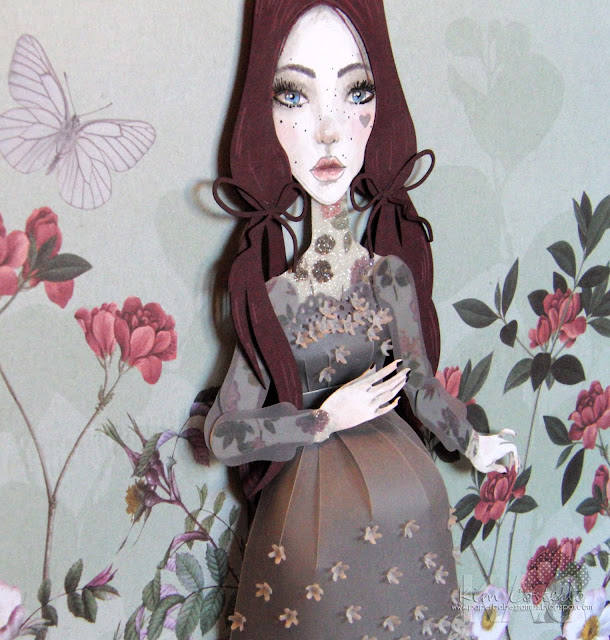
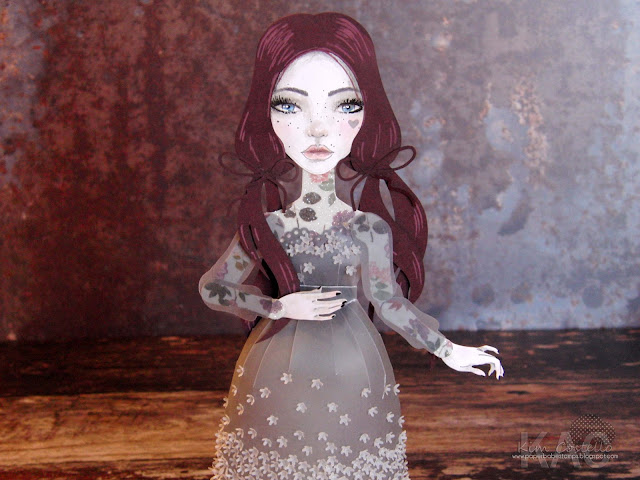
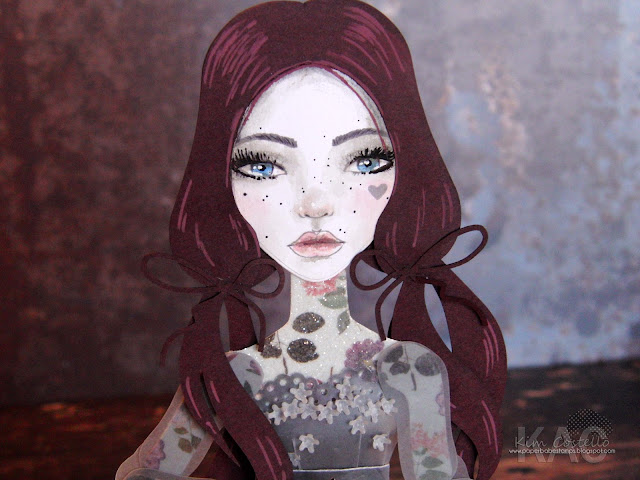
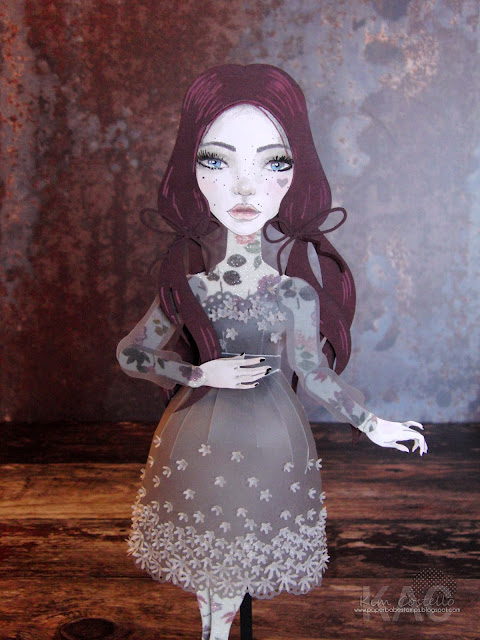
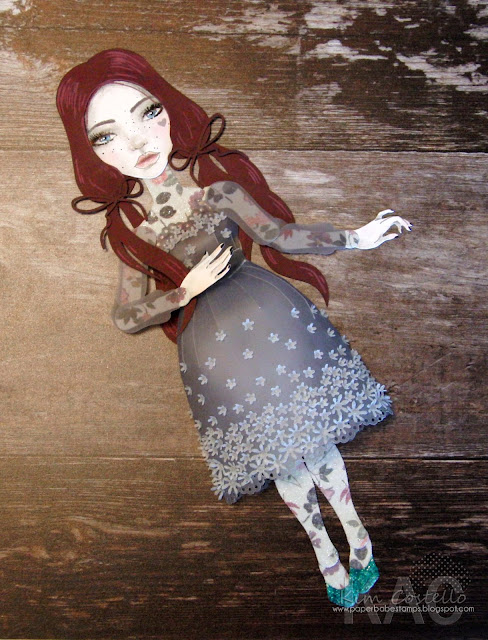
I've made a jointed paper art doll, using the body die along with the portrait head, the hands stamp and dies and the Misty bunches hairstyle, all jointed together with the wonderful paper brad.
I've had this gorgeous 12x12 botanical paper for a while and have been eager to use it as a theme for a doll, so I was thinking it would make a beautiful garden and then the idea of a spring/summer dress, which developed into this 3d dress with dimensional flowers adorning it.
This could be her flying or laying in flowers, it's play time now she's made, I've jointed her bunches too, so everything can move.
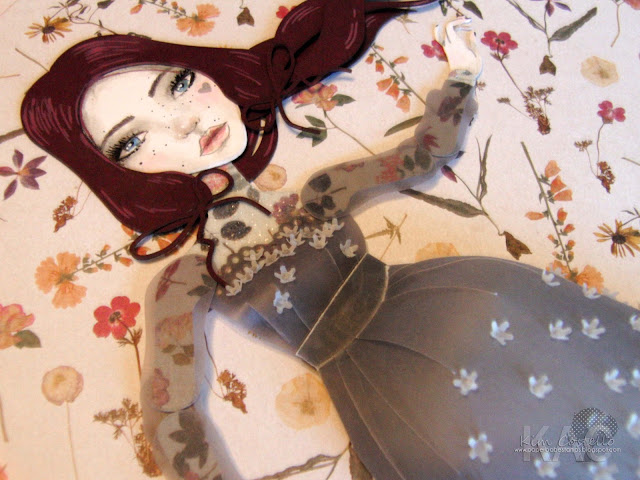
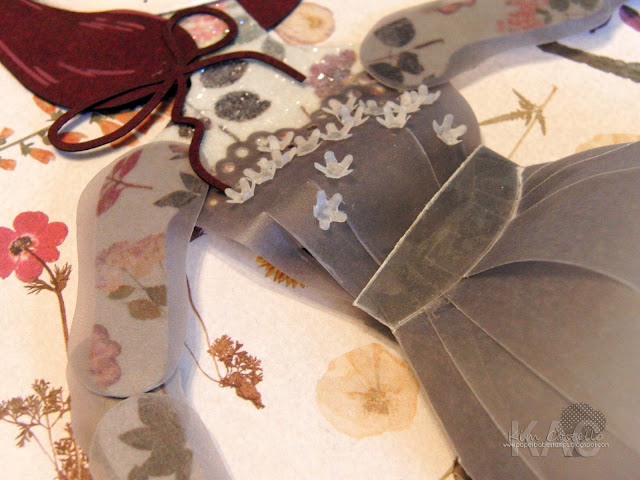
I've used vellum throughout, I love the sheer look over the floral patterned papers. So I layered some sticky roll onto the patterned papers before die cutting, I laid the vellum sleeves over the arms to get the sheer fabric look I was hoping for. The rest of her body I decided to add some glitter to the exposed sticky and it worked out quite lovely.
The construction of her dress took a few trial and errors, I wanted the poofy fullness but only applied it to the front, with the back section of the skirt flat, this way she can hang on a wall etc. The pleats aren't glued all the way down I just did the top section under the waistband. Her top has a similar technique, it's been adhered to the top but left loose at the bottom and tucked into the top of the skirt so she still has movement in her waist. 
The tiny flowers are from an old sizzix zinnia flower which have the cutest little flowers, I then shaped and adhered each one. 

---------- ~ • ~ ---------- ~ ♥ ~ ---------- ~ • ~ ----------

click pics for direct links


---------- ~ • ~ ---------- ~ ♥ ~ ---------- ~ • ~ ----------

Thank you so much for stopping by,
enjoy a wonderfully creative weekend,
HuGs Kim x

All Craft Sites

Since 21.08 You're Number...

Top 40 Arts and Crafts Websites