Friday, October 23

Nine Weeks Till Christmas!!!

Good Morning creative people,
I hope you are well, I'm just popping by to show you the little something I made for the next challenge on the Paperbabe stamps blog...

Can you believe just nine more weeks till the big day...


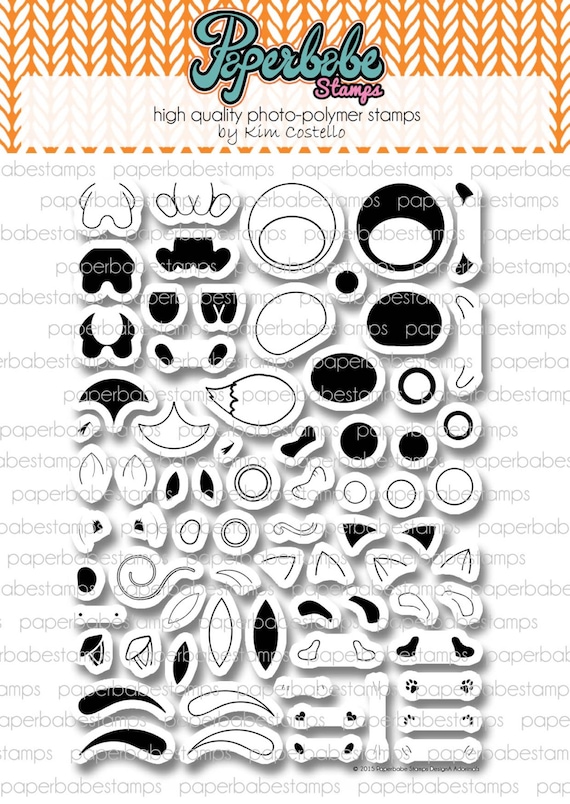
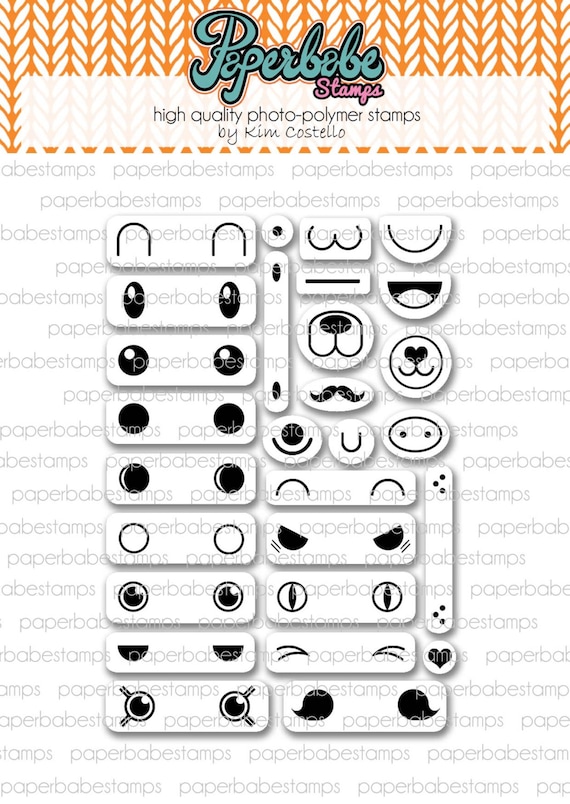
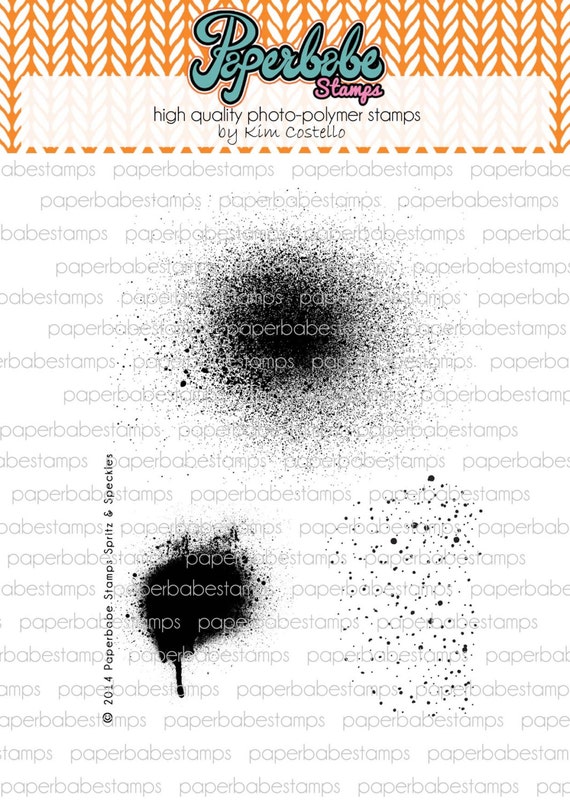
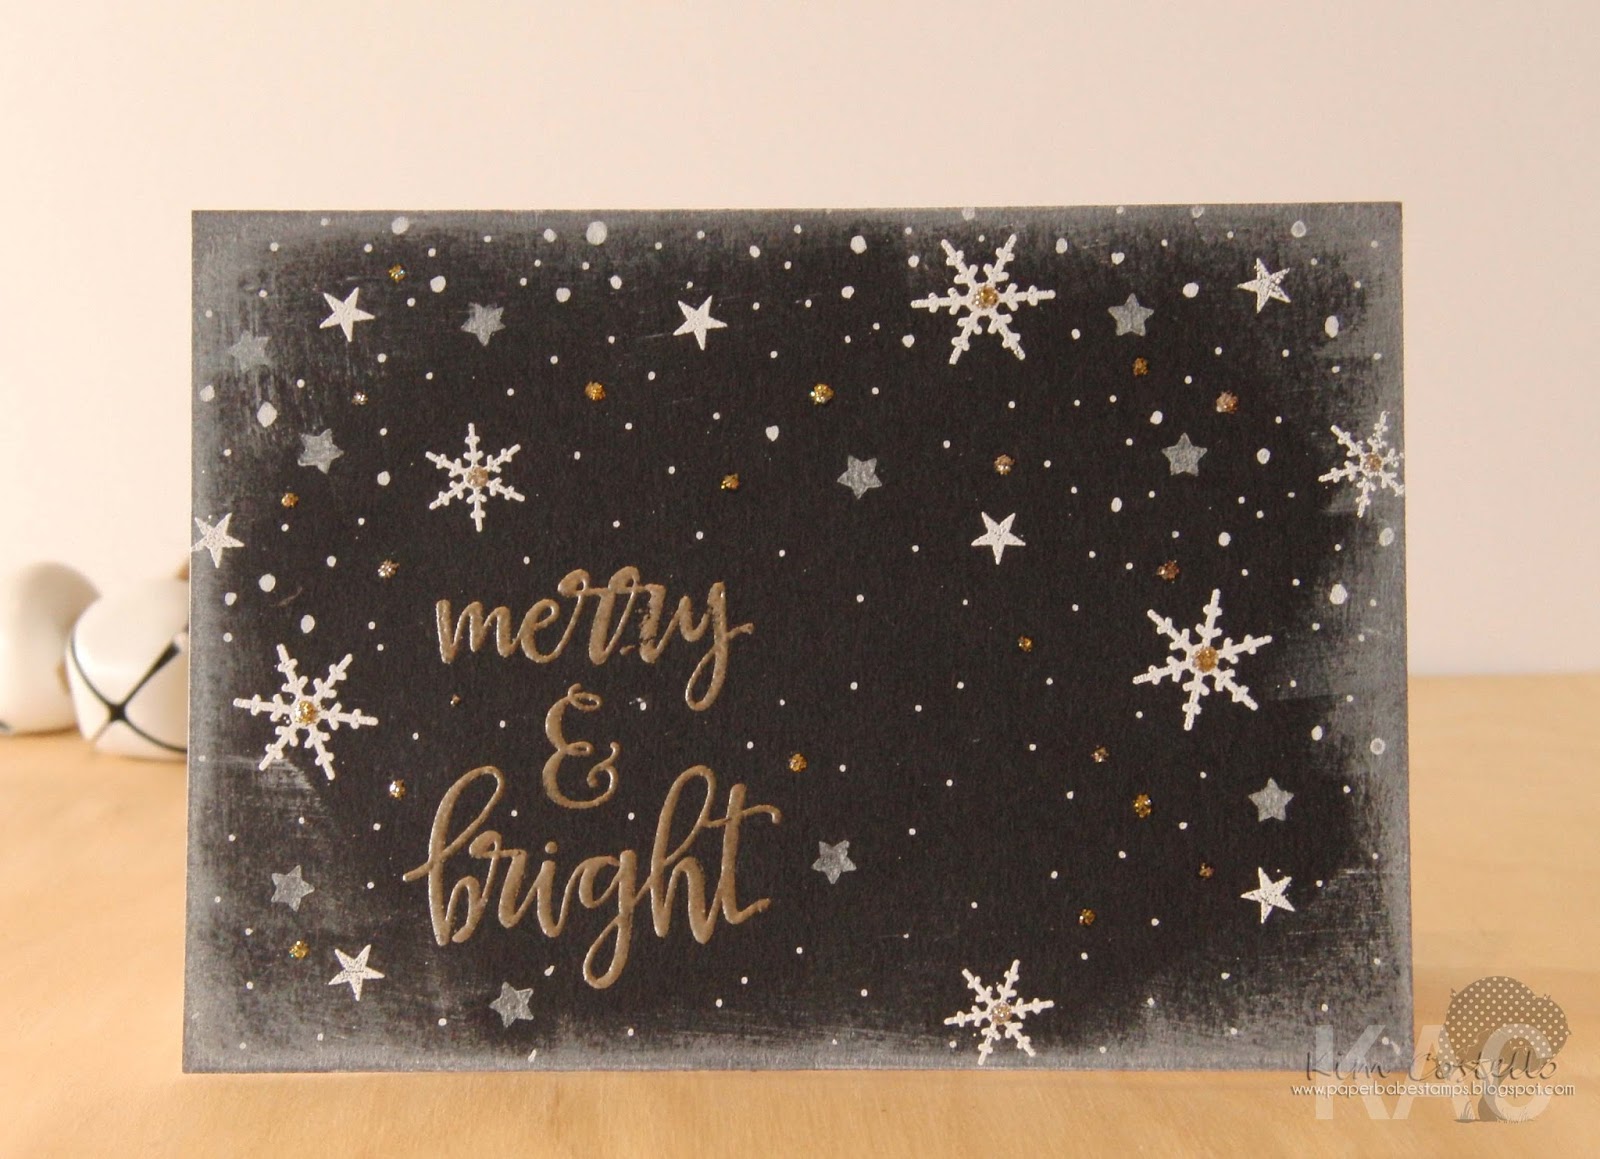
I had a lot of fun creating this little gingerbread guy using the fabulous DesignA Adorimals stamp set and kawaii face set. My background I added the spritz in pigment ink and the sentiment from my latest release Sparkle Bright.


The gingerbread man was very easy to put together, I've added some icing with white posca pen, the tongue and gum drop buttons with a little copic marker.


The hat is in fact one of the cat ears, I stamped the outline and solid images, the Pompom is simply one of the circles meant for ears etc.

I am entering this card into these challenges too:
cutecardthursday ~ # 396 Anything goes


Today is the LAST DAY to enter our Design Team call Don't be shy, 
just click the picture to take you to all the details.
The entries so far have been wonderful, thank you!

Thanks for stopping by
Enjoy a wonderfully creative weekend!

Hugs Kim x


Thursday, October 15

Paperbabe Stamps ~ Sparkle Bright

Welcome to our second day of introductions on Paperbabe Stamps, showcasing Sparkle Bright, this set is sure to coordinate with all your Christmas images, it's perfect when you're looking for just the right sentiment...

Let me show you may array of samples...
This card uses only the stamps from this set, I have stamped the sentiment a metallic platinum embossing powder, the snowflakes and a few of the stars in white embossing powder. I then went in with white ink on a few more stars and added dots with white pen and stickles glitter glue. I've inked the edges in white pigment ink.

For this card I've used the holly and berries from Arctic Jumper to create a holly wreath around the stamped sentiment. I've used two green pigments inks and red for the berries, I decided a little sparkle would be needed with a few dots of stickles glitter glue. I've added patterned papers from Authentique collection:Believe. and finished off with a little twine on the spine.

I've created quite a neutral card here, this would be great for male recipients too. It's hard to see in the picture but the 'bright' has been heat embossed in metallic platinum powder. I still love this large deer in my reindeer fusions set and thought him poking round the edge a little fun especially with his little sparkly red gem nose and wink of stella glittered antlers.

I went very arty with this christmas card all thanks to my Spritz & Speckles set. The speckles are quite lovely embossed in gold as is the sentiment and stars. I could happily make quite of few of these.

Still using the same colour theme I decided a little knitting would go well with the Christmas theme, I've stamped the knitted stripes in pigment ink representing a stripy scarf. There are just a few white embossed snowflakes and the sentiment in black embossing powder.

And then I thought I would make a little coordinating tag, using another sentiment.

And last but by no means least, this little snowman with scarf, this sentiment would work very well inside your card if you needed something special to say. I created a very distressed card here, I masked the snowman's body before inking the background with distress inks. I then stamped a few snowflakes in pigment ink. His hat and scarf were coloured using distress markers and I went somewhat heavy handed with my perfect pearls mist, it just came out with some velocity, you could pretend there was a little blizzard, lol.

I would love you to pop by the rest of the team blogs and check out their gorgeous projects...


Thank you so much for stopping by I hope you're feeling the Chritmassy spirit like me! 
New Stamps will be available to buy tomorrow!

Enjoy a wonderfully creative day!!!
HuGs Kim & the Team x

Wednesday, October 14

Paperbabe Stamps ~ Arctic Jumper Stamp set

We're introducing a new Christmas Stamp Set over at Paperbabe Stamps blog
As usual I had many ideas with this set but not enough time to make everyone... yet!

This simple card I tried to get the effect of letterpress... by stamping two more bears from cardstock cutting just the bear part, I've layered these on top of eachother lined them up to the stamped image and passed it through my embossing setting on my big shot. Tada! I'm looking forward to detailing just the jumper part.

I've used the holly sprigs to create a little pattern on the blue paper, the Polar bears jumper has been coloured using copics, I've also added a little shadow and cheeks with copics too.

I couldn't resist trying some foil transfer, I've separated the jumper using a red foil and the background is a slightly patterned foil, I opted for the stamp N' Bond method, although I did try my laminator but I wasn't too pleased with the results, definitely something to have another go at when I get some time!

And lastly just a couple of tone on tone cards,

I tried to add different ink to the jumper on the stamp before stamping onto kraft, it gives a very weathered look, much better in real life!

We have one more introduction tomorrow so pop back then.
Thanks for stopping by
Enjoy a wonderfully creative day!
HuGs Kim x

Friday, October 9

Paperbabe Stamps Challenge ~ Frankie Doll

Good Morning wonderful people, I hope you are well, it has been a while, home life is pretty busy right now but I certainly found a bit of time to make something for the next challenge on the Paperbabe stamps blog, today...

It's an anything goes and I went a little Halloween crazy and created my very own Frankie Doll lol!

So, I started off by spritzing the canvas background with some scrumptious dylusions spray inks, yum! 
I drew around my fabulous mini mixed media templates;
First the flick and fringe hair, I then mixed it up a bit and borrowed the fringe from the short and fringe templates, I love how easy it is to change.
Next was simply drawing the head and torso, I opted for the slim head shape, it's still my go to shape.

I painted the skin first, in a mix of green acrylics this could definitely be used for other spooky characters like a witch, zombie, I can't wait to get messy trying other multi coloured skin girlies!
I stamped her facial features using the mini doll face set, I opted for different coloured eyes(of course).

So, I painted gesso on some old old book pages, which I used to create the hand using the mini hand template and the same green paints as the skin. I also used this same paper for her stripy dress.
 The Best Version quote sentiment stamp, I thought very fitting, rotfl! I heat embossed in orange embossing powder on tissue paper but it didn't quite disappear on the black stripes, shame.

Then it was just a matter of adding all those special finishing touches, like her stitching, the needle and thread in her hand and of course the very important neck bolts for receiving extra energy!!!(think I could do with some)

Well, I thought I would enter my mixed media piece to these current challenges, I was so pleased to discover these, it took some searching out, it's great to see the mixed media creativity growing!

Kim Dellow ~ Show your face
Mixed Media Monthly Challenge ~ Word Search (Orange & Purple)
Mixed Media Mojo ~ Halloween
Anything but cute challenge ~ 31 days of Halloween
Decoart Mixed media blog ~ Haunts Challenge
Altered Eclectics ~ Anything Goes
The Mirror crack'd ~ Tic Tac Halloween
That Craft Place ~ Mixed Media Anything Goes

There is also still plenty of time to enter our Design Team call, just click the picture to take you to all the details.
The entries so far have been wonderful, thank you!

Thanks for stopping by, we have a new release coming next week, 
so see you then!
Enjoy a wonderfully creative day!

Hugs Kim x


Wednesday, October 7

Courage Dear Heart, Life Book Week Four

Here I have another piece from my life book 2015...
This was from week Four, a lovely class from Patti Ballard, this is not my usual style, it was great to go out of my comfort zone and at least have a try, I loved loved loved the old style...
Which encouraged me to go a step further a paint a very generous amount of crackle paint over her face and body to give an aged doll look. I can't express how pleased I am with how this technique turned out.
I will try and share my life book when I get a few minutes...

I would like to enter this piece to:

Kim Dellow's ~ Show your face

And poor Glennis I will sort the winners out as soon as I have a moment!
There will of course be a new Challenge up on the Paperbabe Stamps Blog this Friday, so pop back then, I have a very fun piece ready and waiting!!!

Thanks for stopping by
Enjoy a wonderfully creative day!

Hugs Kim x

All Craft Sites

Since 21.08 You're Number...

Top 40 Arts and Crafts Websites