Over at Quixotic today I have a written a little tutorial on...
creating a pencil and notepad gift set, so easy to customise and give as a special gift.

To begin take the cover off a mini notepad or jotter,

remove it on the back too Cut some kraft cardstock to recover the pad remembering to continue the cover to the back.

Use a corner rounder to shape the corners, simply hold a few pages at a time instead of struggling with too many.

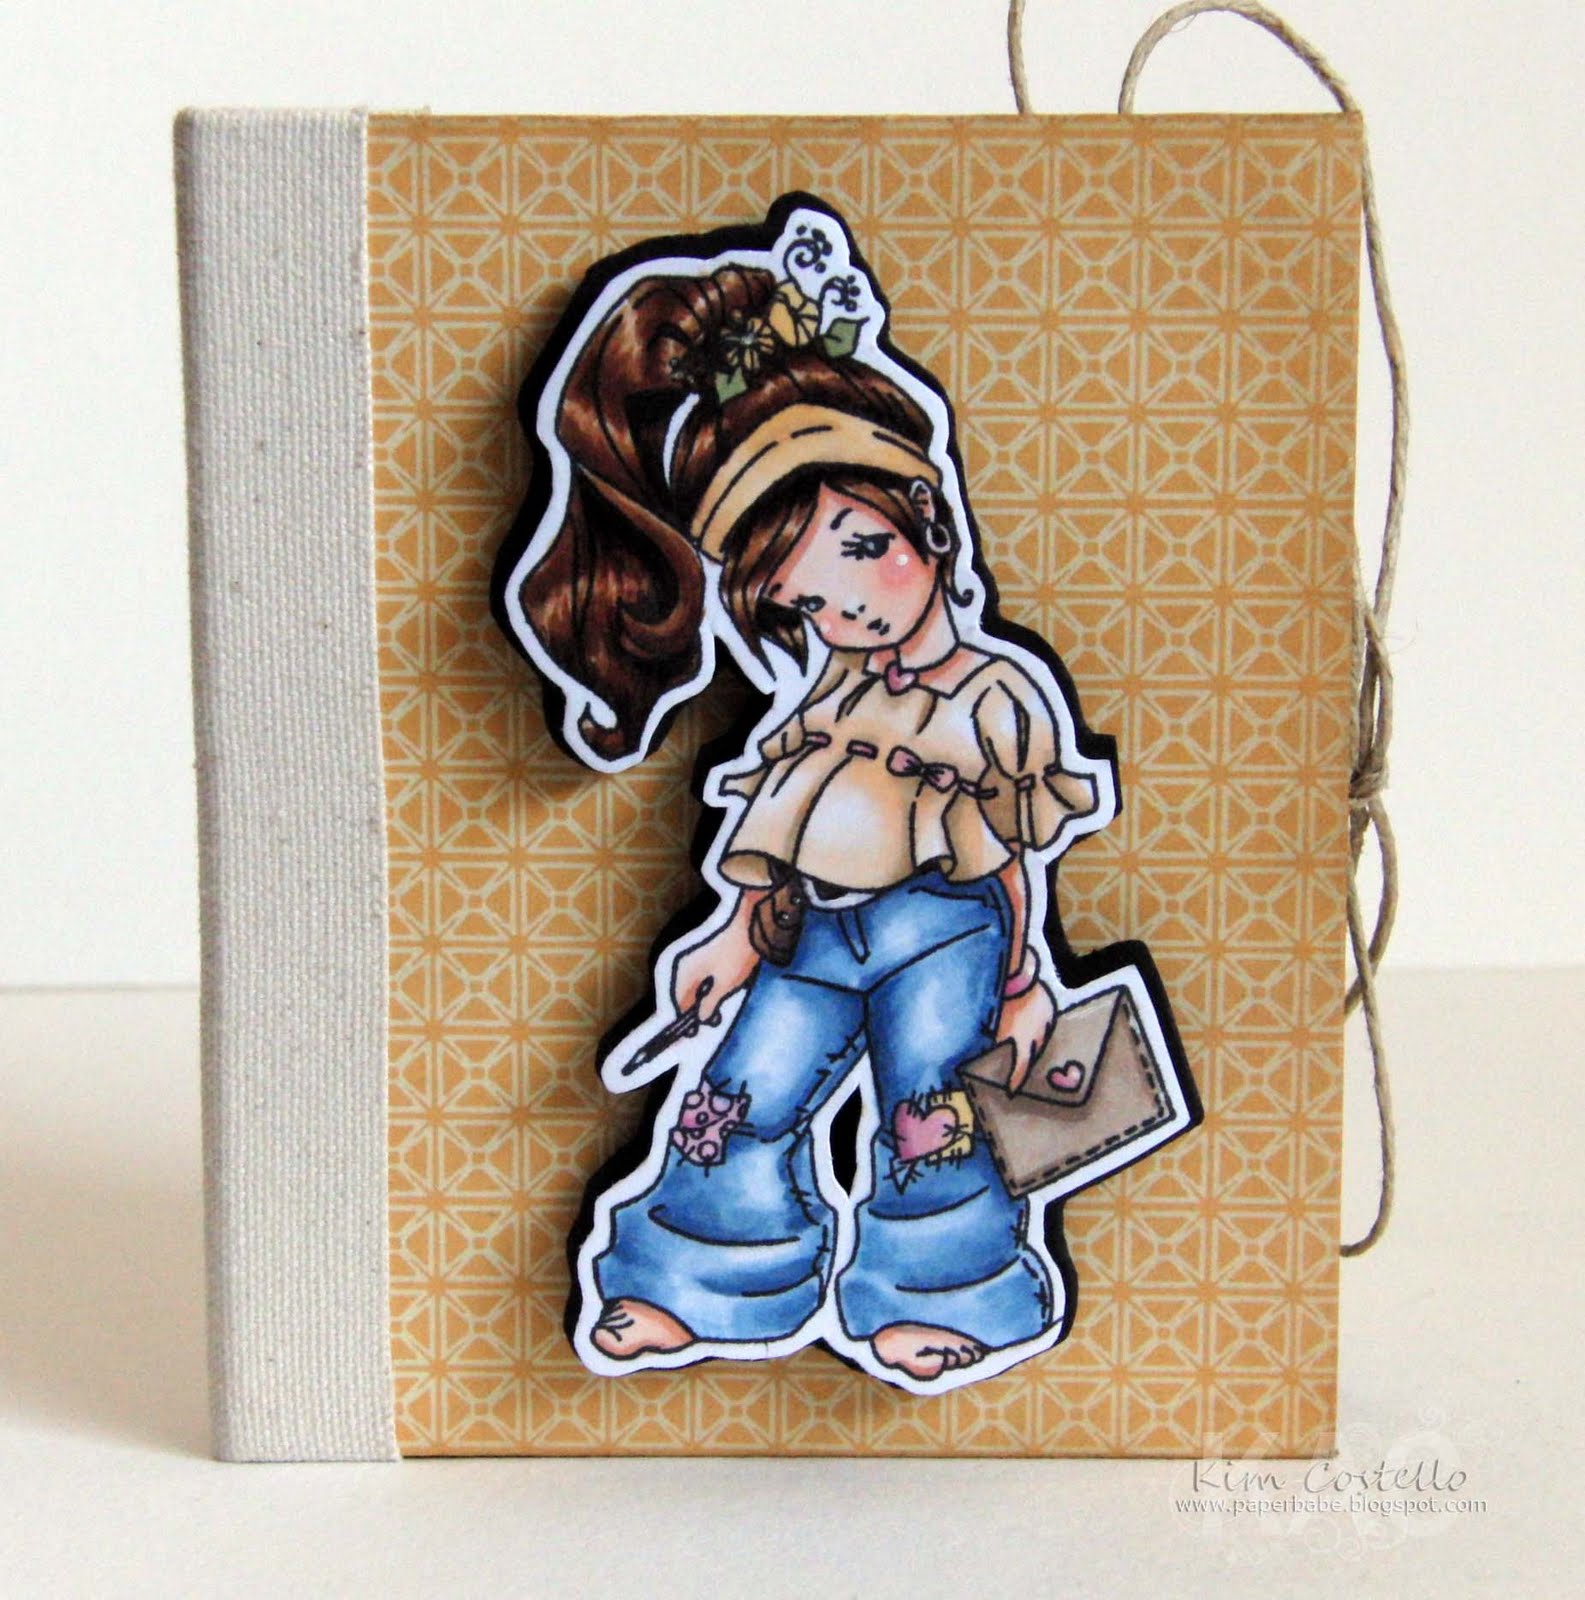
Stamp A Pen Friend image on the front with coffee archival ink, ink edges.

Create a box envelope the depth of your pencils, I've used scallop circle die to give decorative flap.

Attach a large metal snap or (circle card and eyelet), then ink edges.

Secure some twine to the back before constructing the envelope.

For the cover cut three pieces of chipboard, two just a bit bigger then the box envelope and a spine the depth of pad and envelope.


I've cut a strip of sticky back canvas for the spine, lay the covers and spine directly onto the sticky side allowing a gap between pieces.

Then adhere another strip of patterned paper to cover the two ends, and score the channel's to secure.

Next it's simply a matter of adhering the pad and the pencil envelope in place.

I've added more twine for tying a closure.

For the front, stamp and colour your image, fussy cut leaving a border and matt onto black card, then fix on the front with dimensional adhesive.

and here's the copics I've used!
I hope you feel inspired to try creating a little papercrafted gift too!
Thank you so much for stopping by today!
BiG HuGs Kim :)
How cute! What a wonderful gift, low cost and looks great!
ReplyDeleteI love this!!!
ReplyDeleteYour genius as always, love it :) I actually have learned so much of Copic coloring from you, I hope you dont mind me studying your work. Thanks for all your great ideas and sharing it with us.
ReplyDeleteThis is a wonderful idea Kim & would make a lovely present :) (thanks for the detailed instructions too)
ReplyDeleteHugs
Tracey
xx
Just a quick note to let you know that a link to this post will be placed on CraftCrave today [25 Jun 01:00am GMT]. Thanks, Maria
ReplyDeleteWhat a fabulous idea Kim, you are so talented!!
ReplyDeleteThis comment has been removed by the author.
ReplyDeleteI love this paper and the colors you pulled out of it! Great card and great coloring too! :D
ReplyDeleteSuch a fantastic idea! Great for keeping in your bag to keep little ones amused when out and about. I will certainly be making a few of these!
ReplyDeletethis is just so fabulous!!! I do love covering mini notepads, I love the added touch of using pencils too ... fabulous, and as always loving the use of Kraft! Hugs Juls
ReplyDelete